
Badge Kids › Road Badge › Section 3 › Lesson 3.5
All courses›Road Badge›Section 3
Slow control: the weave and the box
Weave a line of markers twelve feet apart without touching one, control your speed through slow turns with the rear brake, and stop with the front wheel inside a box three feet by five.
1Look
Six markers and a box
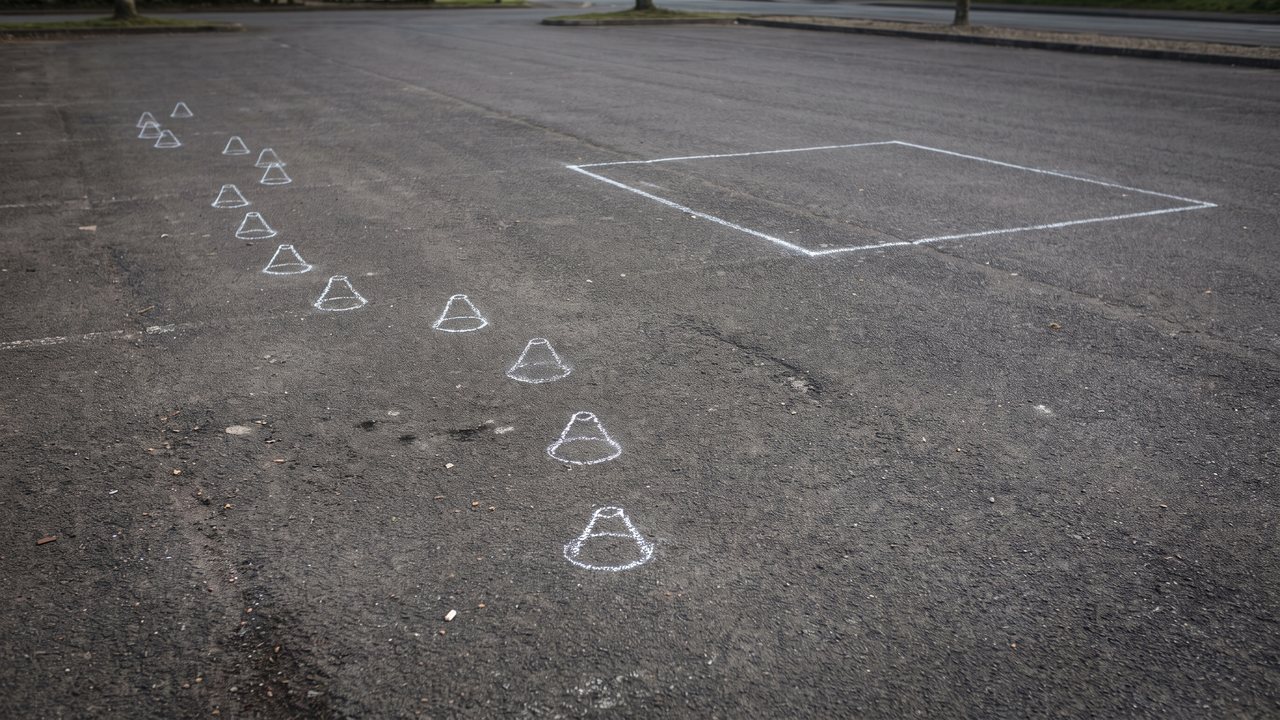
About four dollars of equipment on the ground. Those are two of the exercises adult motorcycle licensing tests people on, drawn in chalk.
2The idea
Two drills, with the dimensions they come with
Both come from the motorcycle rider skill test and both are drawn on the ground.
The weave: markers twelve feet apart in a straight line. Ride to the right of the first, the left of the second, and so on, touching none and skipping none.
The stop box: three feet by five. Come to a smooth stop with the front tyre inside it, not touching a line.
Neither is a trick and neither is fast. They are both asking one question: can you put the machine exactly where you meant to put it — which is the only question a junction, a queue of traffic or a gap between two parked cars ever asks you.
3The idea
The one exception to both brakes
Everywhere else this course says use both brakes. Here is the single place it does not. For slow, tight manoeuvres, control your speed with the rear brake. The racing body teaches it in its slalom drill, and the mechanics writers give the reason: touch the front brake in a tight slow turn and the machine tucks in and goes down under you.
So it is a real exception and it is narrow. Slow, tight and turning: rear brake. Everything else: both. On a heavier machine the tuck happens faster and there is more of it to catch once it starts.
4Look
Where your eyes are in a weave
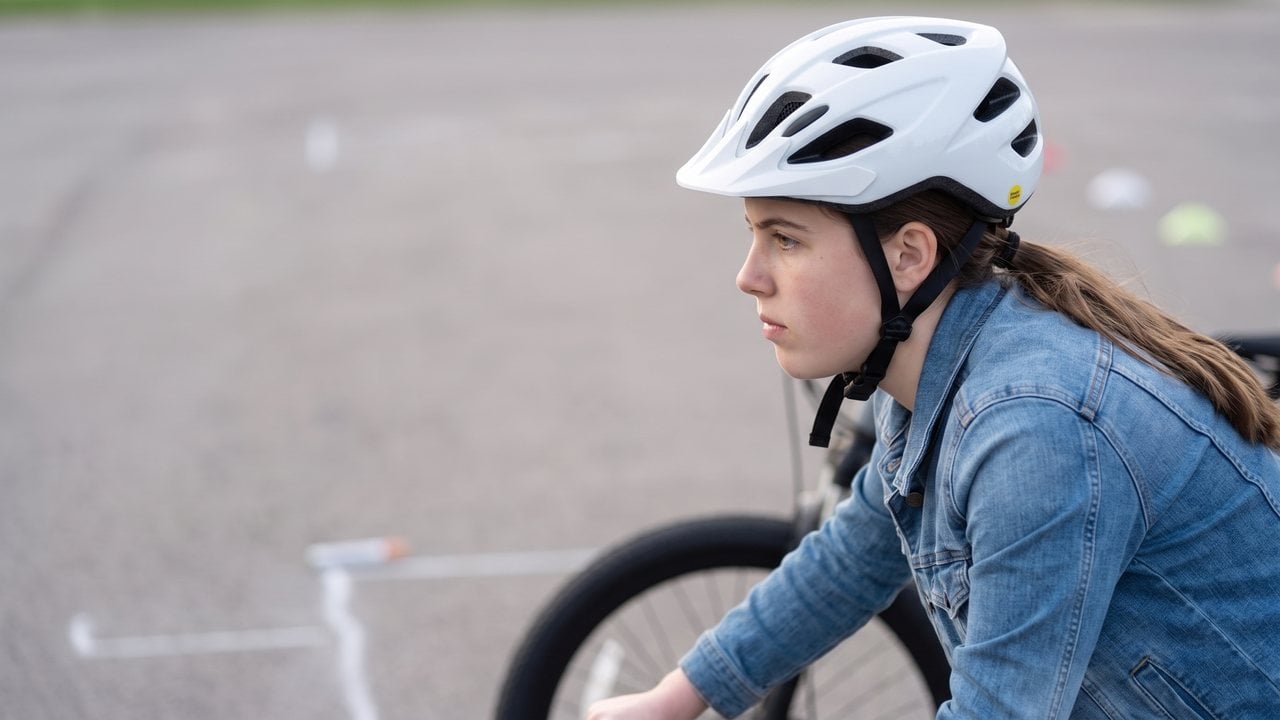
The head is a marker ahead of the wheel the whole way down. Look at the marker you are passing and you will hit the one after it.
5The idea
Three coaching notes, all counter-intuitive
Start wider than you think you need to. Riders set up too tight for a slow turn and run out of room halfway round, and there is no fixing that once you are in it.
Look through to the next marker.
Keep some pedal pressure on. A machine with drive through it is steadier than one coasting.
Those three are the racing body’s own coaching points for this exact drill, and every one of them is about the next few feet rather than the ones you are in. Slow riding is almost entirely a matter of looking further ahead than feels natural.
6Decide
Halfway down the weave you are coming in too fast for the next marker.
Pick one to carry on.
7Build it
Chalk it out
Set the drill
A blank car park you draw on. Place your markers, set the spacing, draw the stop box, then run a rider through and watch the line they take. The card shows the sourced spacing – twelve feet, and a box three by five – and what happens to a machine this size when you set them closer than that.
Set the markers far too close first and watch what a machine this heavy actually needs. Then put them back to twelve feet.
8Find them
Which of these are true of slow-speed work?
Tap the ones that count.
Find all 4.
9Say it
The line for the weave
Say it out loud before each run
“Rear brake. Look through.”
Two things, and they are the two your hands and your eyes get wrong under any pressure at all. Say it at the start of every run until the run makes you do it without the words.
10Do it
Before you leave this page
Set six markers twelve feet apart and chalk a box three feet by five at the end of them. With somebody watching, ride the weave and stop in the box five times. They tick a run only if you touched no marker, skipped none, used the rear brake for your speed, and stopped with the front tyre inside the box without touching a line.
Tick it when you have done it.
Lesson done.
At walking pace the rear brake is the one that does the work. Look through to the next marker, never down at this one.
Next lesson: The squeeze, and the corner