
Badge Kids › Road Badge › Section 2 › Lesson 2.3
All courses›Road Badge›Section 2
The weight, the speed and the stop
Say why the stop is the part the motor changed, use both brakes and squeeze progressively, and start braking earlier than you would on a pedal bike.
1Watch
Pushing it up the drive
Pushing it up the drive
A rider switches the machine off and pushes it by the bars up a sloping driveway; the effort shows in their shoulders, and the frame freezes with the machine halfway up.
16 secondsThat is the weight, without the motor helping. It is the same weight the brakes deal with, before you add yourself on top of it.
2The idea
The weight never argues with you while you are moving
That is what makes it sneaky. The motor carries the extra mass along the road, so nothing about riding it tells you the machine is heavier than the one you learned on. It only ever shows up at two moments: when you want to stop, and when it goes down.
The adult safety guidance says it about carrying a passenger, and the physics is identical for a battery and a motor: extra weight changes the way the machine handles and increases stopping distance.
3The idea
And you are going faster than you think
A study that instrumented real bikes in ordinary daily use measured it: riders on assisted bikes averaged 20.5 km/h against 16.6 km/h on ordinary bicycles. The youngest group they measured was everybody under forty, so that is the closest honest figure there is for you, and the trend says teenagers are not slower than it.
Then the physics does the rest. Double the speed and braking distance goes up around four times, because the energy you have to get rid of climbs with the square of the speed. It does not care how easy the machine felt on the way there.
4Look
A stop has two halves
Only the second band is about brakes. The first one is the last lesson in the badge before this, and both of them get longer when you go faster.
5Decide
You are coming up to a junction on a road you would normally brake for at the last minute.
Pick one to carry on.
6The idea
How to brake, and the number we are not giving you
Three things every source agrees on.
Use both brakes, every time you slow or stop.
The front one does most of the work.
Squeeze progressively. Never grab.
And one more from the cycling side: straighten up first, then brake. Braking hard while leaned over is how the back end goes.
We are not telling you what share the front brake does, because four decent sources give four different answers, and the truth moves with the bike and the rider. Same reason there is no stopping distance here: two published figures differ by about five times and neither shows its working.
7Your turn
Two bars, one crossing
Speed and the stop
A slider from walking pace up to the top assisted speed of your own machine, with a rider approaching a marked crossing. Two bars grow as you drag: the ground covered deciding, and the ground covered braking. No numbers on screen – just the two bars and the crossing.
Drag it slowly and watch which of the two bars grows fastest. That is the square in the physics, drawn.
8Find them
Which of these make the stop longer?
Tap the ones that count.
Find all 4.
9Say it
Four words for every stop
Say it out loud, in your normal voice
“Both brakes. Squeeze, don't grab.”
Say it on your next three stops, in a car park, before you need it anywhere real. It is a hands habit, and hands learn it faster with the words attached.
10Do it
Before you leave this page
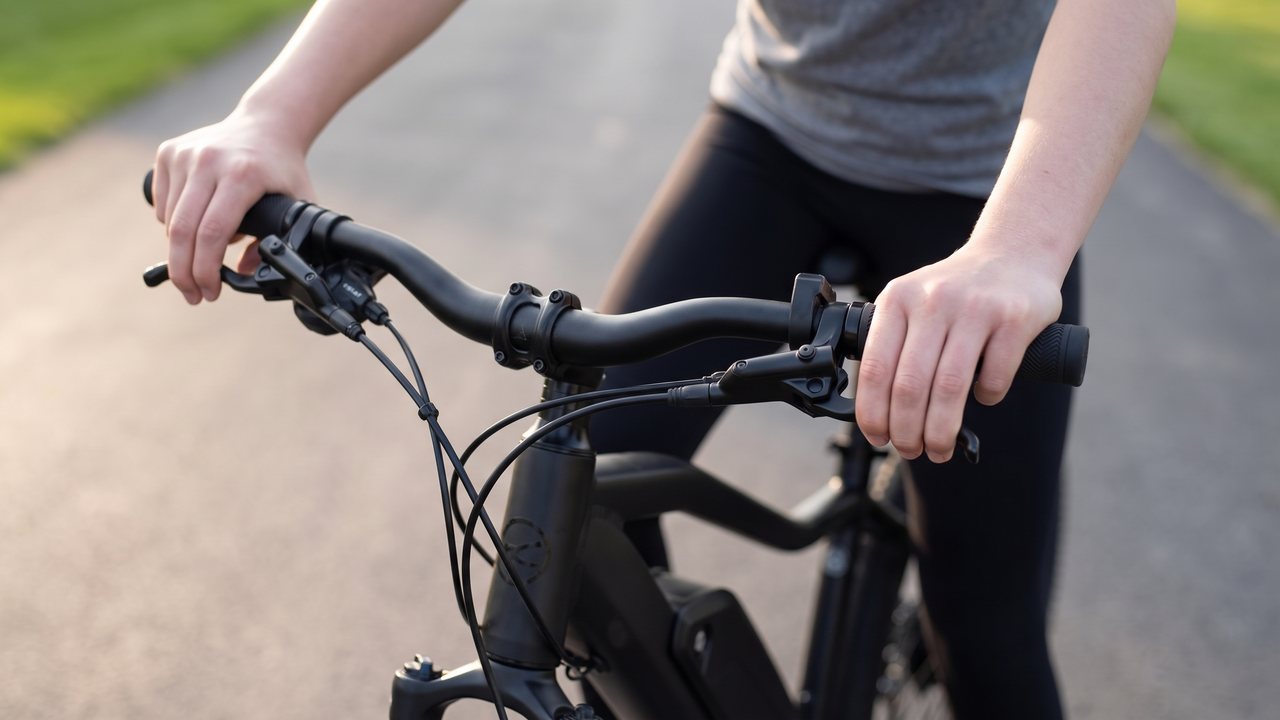
Stand beside the machine with the power off. Hold only the front brake and push it forward – it should not roll. Then only the rear, and push again. Each brake on its own has to hold the machine still. Then push it up the drive by the bars, so you have felt the weight the brakes are working with.
Tick it when you have done it.
Lesson done.
Both brakes, squeezed not grabbed, started earlier than feels necessary. Straighten first, then brake.
Next lesson: Making it fit you