
Badge Kids › Road Badge › Section 8 › Lesson 8.2
All courses›Road Badge›Section 8
The quick stop, and the pedals that are not where you think
Set up and make a quick stop – pedals level, weight back, both brakes squeezed hard and progressively – and say why its pedal position is not the one you set off with.
1Watch
Everything you own goes forward
Everything goes forward
Side-on, slow motion: a rider brakes hard from a rolling speed; the machine's nose dives, the rear wheel goes light and skips once, and the rider's body slides forward over the bars; the frame freezes with their arms locked straight and the back wheel just off the ground.
16 secondsThat rider did nothing wrong with their hands. Everything in that shot is about where their weight was when the brakes came on, and that is the part you get to set up in advance.
2The idea
Two stops, two setups, and students mix them up
You already have a pedal position from badge three: for setting off, the pedal goes to two o’clock, up and forward, so your first push has something to push against.
The quick stop uses a different one. Pedals level, at three and nine. Flat, one foot forward, one foot back, both cranks horizontal. The sources that teach both skills specifically note that learners conflate these two positions, so notice it now while it costs nothing: two o’clock is for going, level is for stopping hard.
3The idea
The four steps, in order
A cycling school writes the quick stop as four steps and they happen almost together.
Pedals level, at three and nine.
Lift very slightly off the saddle.
Weight low, and shift back — behind the saddle if you can get there.
Brake hard, and hold that position all the way to the stop.
The last four words are the whole skill. Braking throws your weight forward. Getting behind the saddle first is you spending that movement before it happens. Come out of the position mid-stop and everything the first three steps bought you is gone in the moment you need it.
4Look
Where the weight goes, and where you put it
Same machine, same brakes, same speed. The only difference between the two drawings is where the rider decided to put themselves half a second earlier.
5The idea
Squeezed, both, and no percentage
The motorcycle manual’s words are worth having exactly: apply both brakes at the same time; do not be shy about using the front brake, but do not grab it either; squeeze the brake lever firmly and progressively. Firmly is not gently. Progressively is not slowly. It means the pressure builds instead of arriving.
And here is a number this course will not give you. You will hear people say the front brake does some particular share of the work. Four different values for that exist across the sources and they contradict each other, so we name none of them. Both brakes, squeezed and not grabbed. That instruction is true under all four.
6Decide
Something steps out while you are mid-way through a bend.
Pick one to carry on.
7Build it
Set it up in the right order
Four steps, half a second
Six cards to order: pedals to two o'clock, pedals level at three and nine, lift off the saddle, weight back behind the saddle, squeeze both brakes progressively, hold the position to a stop. Two of the six do not belong. Put the rest in order and the game plays your version out side-on, showing where the weight goes and whether the back wheel stays down.
The card that does not belong is the one that came from setting off. That is the exact swap the sources warn about, and it is easier to catch here than in a car park.
8Find them
Which of these belong to the quick stop?
Tap the ones that count.
Find all 4.
9Say it
The setup, called out loud
Say it out loud each time before you roll
“Level. Off the saddle. Back. Squeeze.”
Four words in the order they happen. Say them out loud on every practice run, because the whole point of a setup is that it has to arrive before you have decided anything, and out loud is how a sequence gets into your hands.
10Do it
Before you leave this page
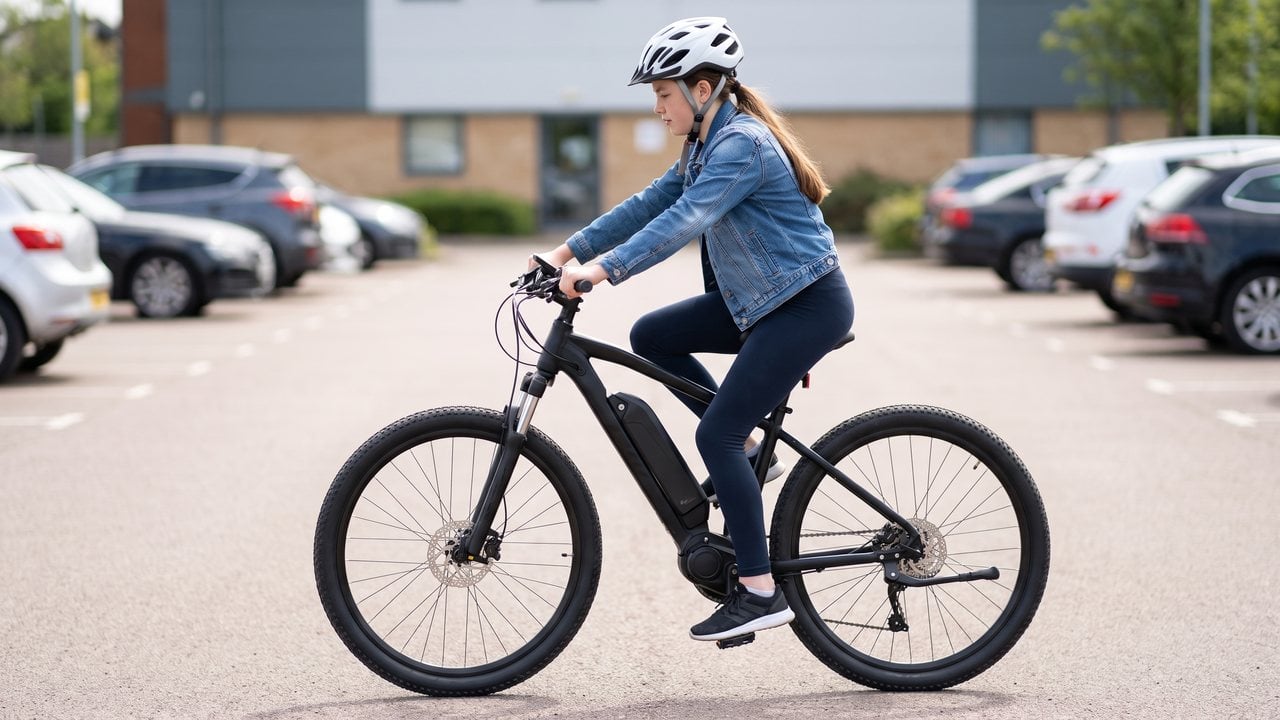
In the empty lot, from a slow roll, do five quick stops with the setup called out loud each time: level, off the saddle, back, squeeze. Your witness ticks a run only if they heard all four words before the brakes came on and the machine finished straight. Then do five more slightly faster. Stop for the day the first time one of them finishes crooked.
Tick it when you have done it.
Lesson done.
Pedals level at three and nine. Weight back behind the saddle. Both brakes, squeezed hard and progressively, never grabbed. And straighten first, then brake.
Next lesson: Two different ways round a thingSection 8 · When It Goes Wrong
8.1Why this is the last badge and not the first8.2The quick stop, and the pedals that are not where you think8.3Two different ways round a thing8.4You get one of them, not both8.5The dog, and two manuals that disagree8.6Gravel, grates, rails, and the last skill in the course★Section check