
Badge Kids › Road Badge › Section 2 › Lesson 2.4
All courses›Road Badge›Section 2
Making it fit you
Set your saddle height by the heel-on-pedal method, set the brake levers so your hands can reach them, and read the tyre pressure off the sidewall.
1Look
Heel on the pedal
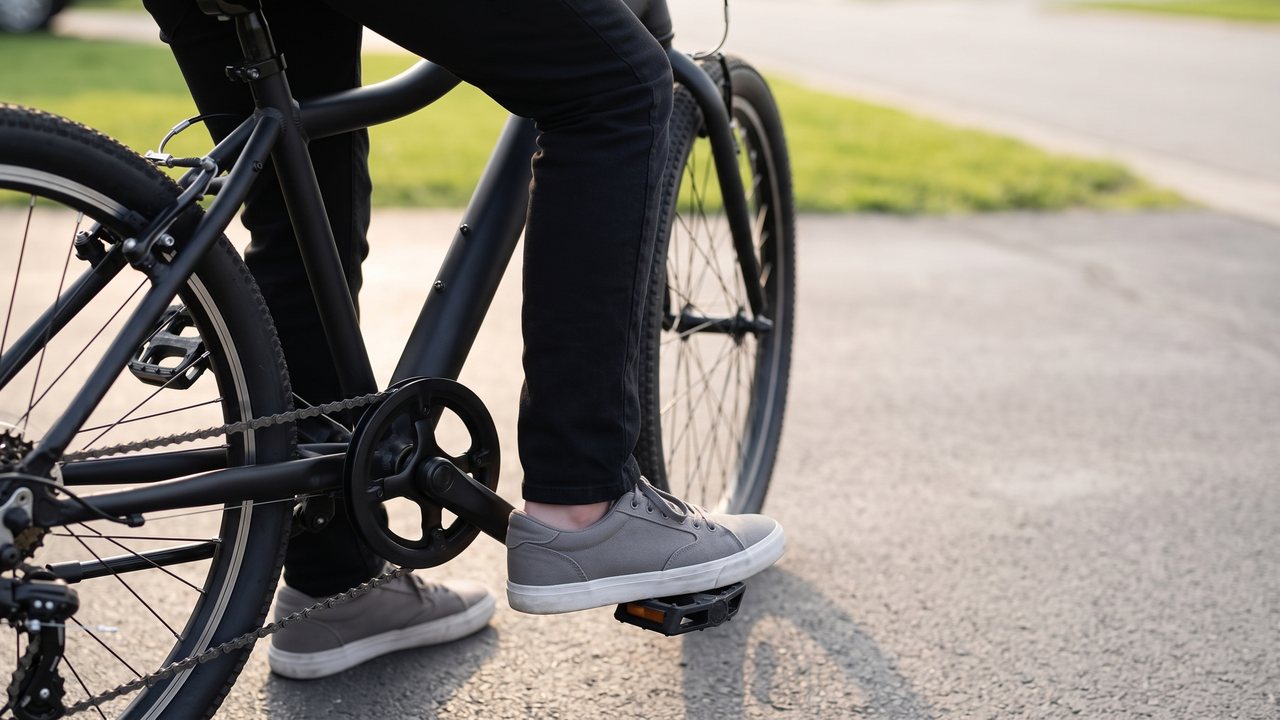
That is the whole test, and there is no tape measure and no arithmetic in it. It is the method written into the national youth cycle training standard.
2The idea
Saddle height, the way it is actually taught
Sit on the saddle. Put the crank at the bottom, straight down in line with the seat post. Put your heel on the pedal, not the ball of your foot. Your leg should be straight, and you should be able to pedal backwards like that without losing heel contact.
Then watch your hips. If they rock side to side as you pedal backwards, the saddle is too high, and that is the actual pass or fail. It is also the one thing somebody watching you can see far better than you can feel it.
3The idea
The mark on the seat post is not a suggestion
Every seat post has a minimum insertion mark stamped or printed near the bottom. The rule is short: when the post is clamped, that mark must not be visible. If you can see it, the post is too far out, and there is not enough of it left inside the frame to be safe.
This is the thing a growing rider gets wrong, because you fix it a few millimetres at a time over a year. Nobody raises a saddle past the mark on purpose. They raise it four times and the fourth one is the problem.
4The idea
Brake levers, and the item everybody skips
Almost every lever has a small reach screw that brings it closer to the bar. Set it so the first joint of your index finger lands over the lever without you stretching for it. If your hands are small, this is the most important adjustment on the entire machine.
The test is one squeeze: pull the lever all the way and it must not touch the grip. A lever that reaches the bar has nothing left to give at the moment you need everything it has, and a rider who cannot get a finger comfortably onto it will not brake hard enough to matter.
5Decide
You pull the front lever hard in the drive and it comes back until it touches the grip.
Pick one to carry on.
6Look
It is written on the tyre
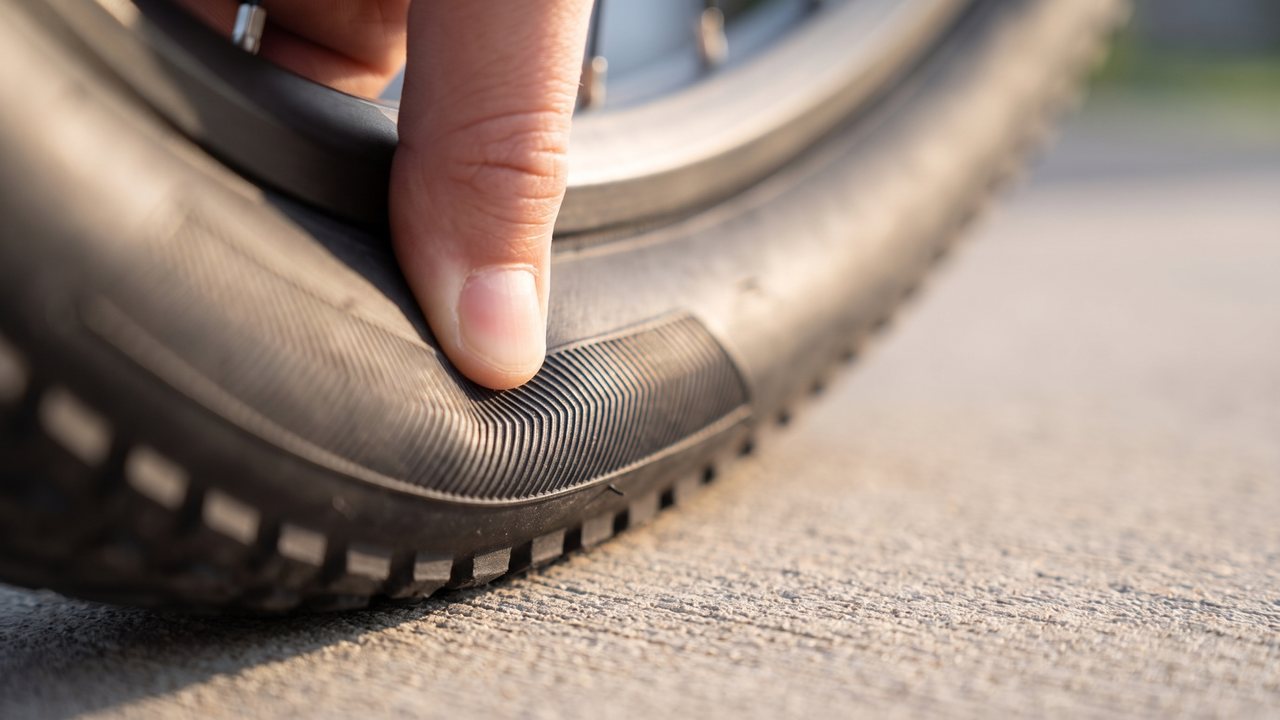
The range for your tyre is moulded into its own sidewall, and it is different from your friend’s. Pinch the tyre to check it is firm, pump to what the sidewall says, and check it cold rather than after a ride. A machine carrying a battery and a motor is a loaded machine, so the upper part of the range is usually where it wants to be.
7Build it
Yours, or a shop's
Yours or a shop's
Twelve jobs on cards: tyre pressure, brake lever reach screw, saddle height, saddle tilt, lever angle, stem height, handlebar clamp bolts, brake pads, a hydraulic bleed, anything on the motor, anything on the battery, anything on the wiring. Drop each into yours, yours with an adult, or a shop. The card tells you why after each one.
The right-hand column is not about trust. It is torque settings and parts that fail silently, and two of those cards can drop a handlebar off a machine at speed.
8Find them
Which of these can you set yourself, tonight?
Tap the ones that count.
Find all 3.
9Say it
The line that stops you guessing
Say it out loud while you are holding the pump
“Read the sidewall, not my memory.”
Everybody who rides has a number in their head from some other bike. It is nearly always wrong for the tyre in front of them, and the correct number is written on the thing itself.
10Do it
Before you leave this page
Get somebody to watch three things. Heel on the pedal, leg straight, pedal backwards – do your hips rock? Is the minimum insertion mark on the seat post hidden? And squeeze each brake lever all the way: is there still a gap to the grip? Say the three answers out loud.
Tick it when you have done it.
Lesson done.
Heel on the pedal, leg straight, hips level. Levers you can reach. Pressure off the sidewall, never off your memory.
Next lesson: The check before you ride